It is no secret to anyone who knows me that our family has owned this farm for over 50 years now, so a lot of the infrastructure here is starting to get a little old! This includes our main shed where we house our goats all year round, the sheep during lambing season, the tool shed, tractors, hay, feed… The list goes on! And whilst we do try to maintain our farm to the best of our ability, things like shed roofs can sometimes go under the radar.
This shed roof in particular has been leaking quite a bit (especially during the heavy rains we experienced during 2022!) which has led to the supporting beams starting to rot out, as well as damaging some of the equipment stored underneath. So we waited until the weather was dry enough, but not too hot, to start pulling the old roofing materials away in sections to replace them.
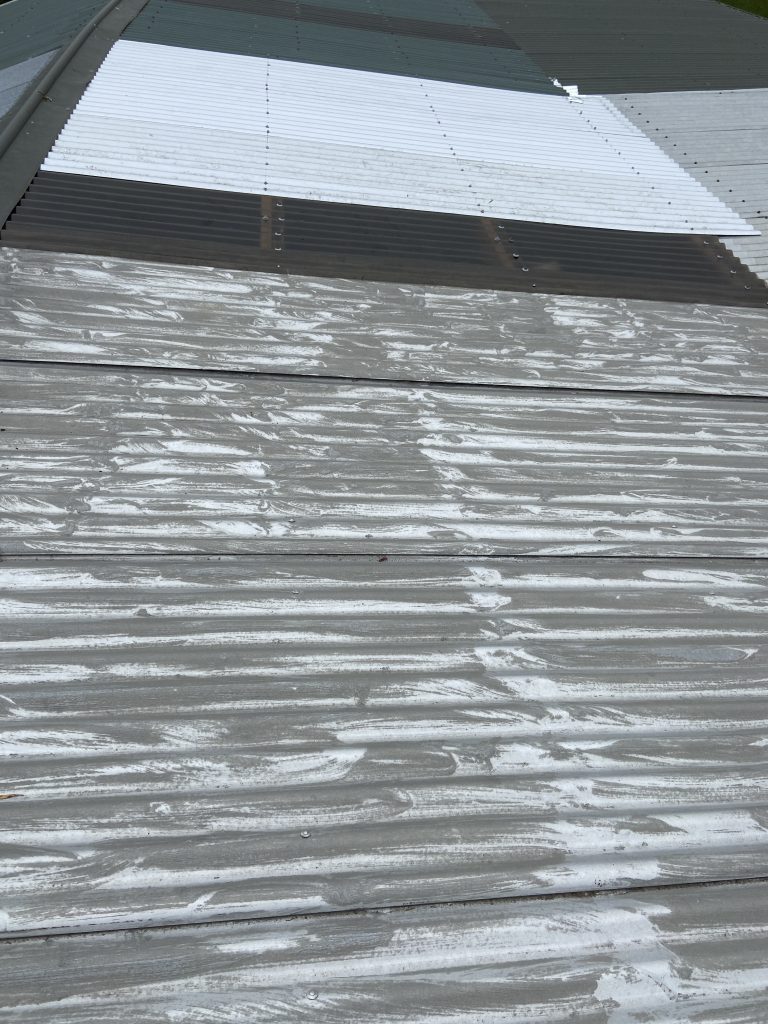
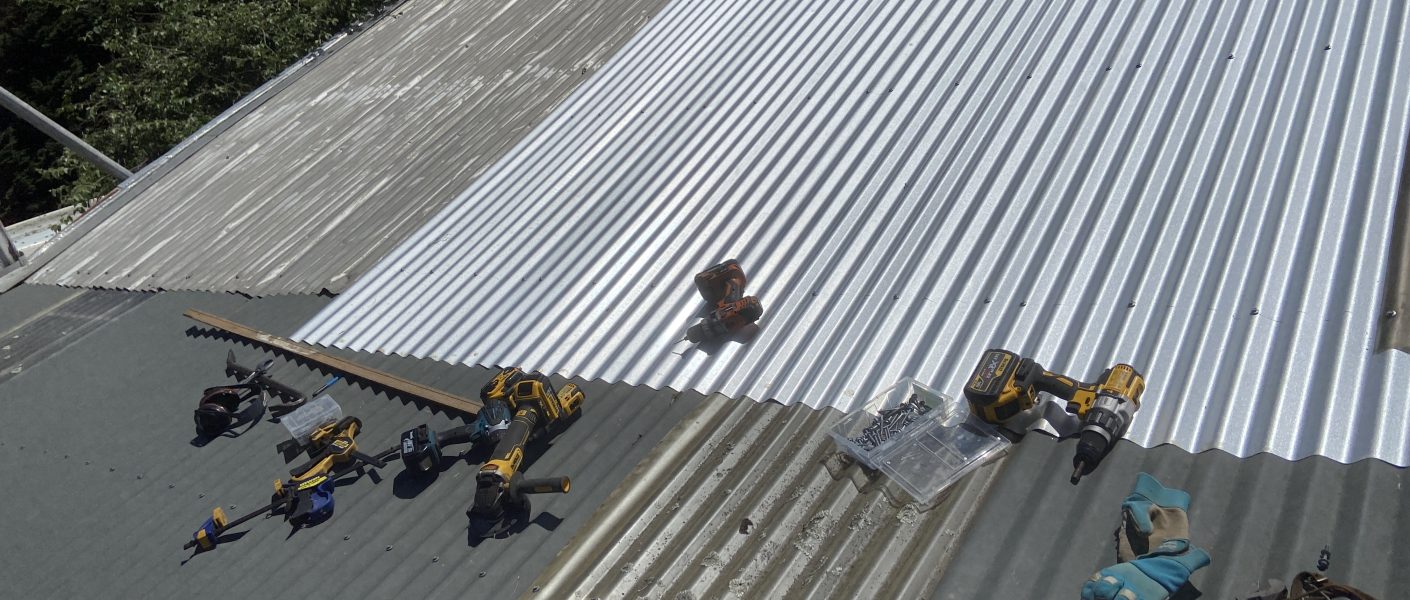
This image shows the first section that we replaced last week – the bright tin and polycarbonate. It is quite noticeable where the angle of the roof changes, and unfortunately, the length of the old tin overlapping from steep to less steep roof gradient was not enough to stop rain from being blown under, compounding the rotting process of the supporting beams underneath. The darker sheets of painted corrugated iron were the next section that needed to be removed and replaced, as well as the capping and rotted-out beams.
These old roofing nails all needed to be replaced. I used a large pinch bar to lever them up and out of the old beams. Any that I couldn’t get leverage under needed to be pried at from below until enough of the nail head had been exposed that I could get the pinch bar under it.


The capping was also in poor condition and needed to be removed. This had been nailed down, however, these nails were easier to remove than the ones in the corrugated iron.
Once all the nails had been removed, the sheets of old corrugated iron were taken away, exposing the supporting beams.
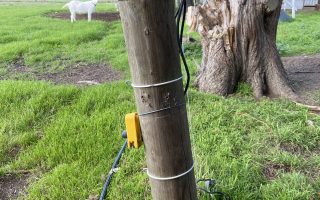
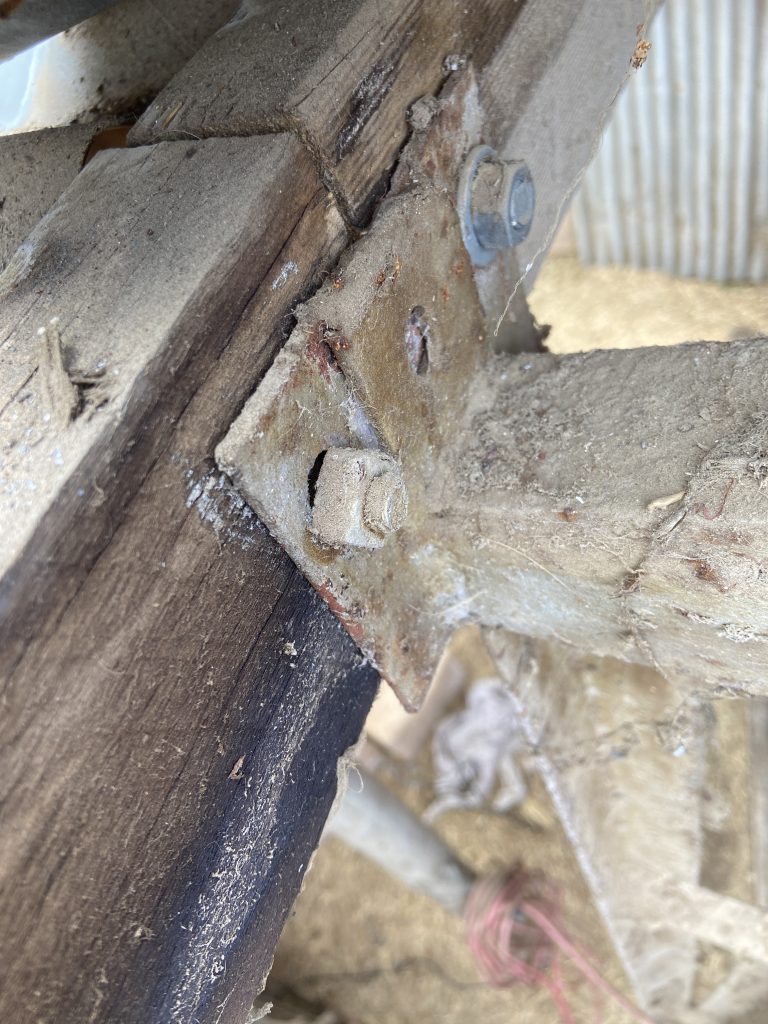
The bolt on the left of this photo had rusted out, so trying to remove the nut using a spanner simply resulted in the whole thing spinning around. I needed to use an angle-grinder to cut off the nut, allowing me to then tap the bolt out using a hammer and nail punch. As there was nothing supporting the beam from underneath, I needed someone to hold the beam up until both bolts had been removed so that it didn’t fall and potentially damage something (or someone) below.
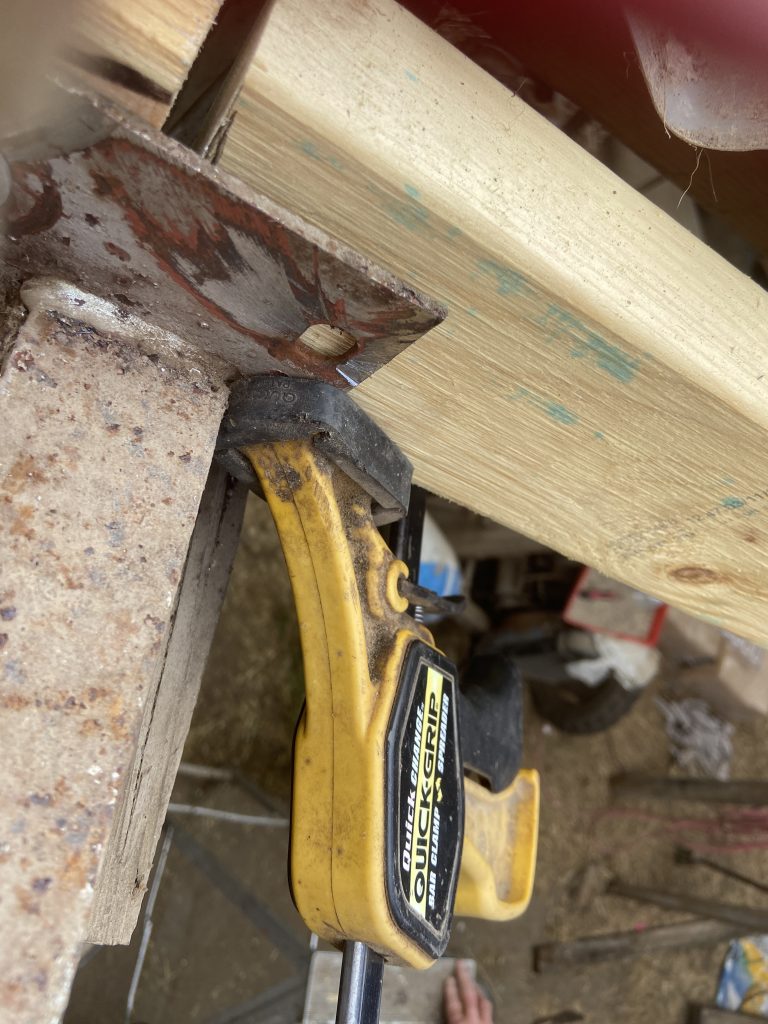
The new beams needed to be carefully measured up, cut, then clamped into place so that we could work out where the hole for the new bolts needed to go. We were able to use the old beams as a template for the length, to ensure we had it exactly right. We then used a marker pen to determine the exact placement for the bolt hole, and drilled a hole slightly larger than the diameter of the bolt through the beam. The new bolt slipped in and was tightened, holding the new beam firmly in place. This was done at both ends of the beam.
This image was taken from above and shows the new beam bolted in.
This was repeated for all beams that needed to be replaced. Only beams near the edge of the tin had been damaged, so the middle beams were left in place and simply reinforced rather than completely replaced.

Once all of the beams had been replaced or reinforced, the new corrugated iron sheets could be installed. They had been cut to the correct length, and needed to be put into place so that the ridges and valleys of overlapping sheets matched up. We have found that using a permanent marker and a long piece of wood as a type of ruler helps to work out where the timber below the iron is, so that when drilling down the screws will always go into the timber, and not accidentally miss (which will then leave a hole in the iron that can let moisture through). It is important to remember to always drill down through the ridges, not the valleys, so that water is less likely to leak through the resulting hole. Try to use roofing screws that have the little rubber seals on them to help prevent water leakage. We’ve also found it is slightly easier to pre-drill a hole; it stops the screw from sliding off the ridge before it has managed to grip the tin.
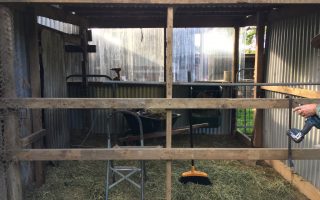
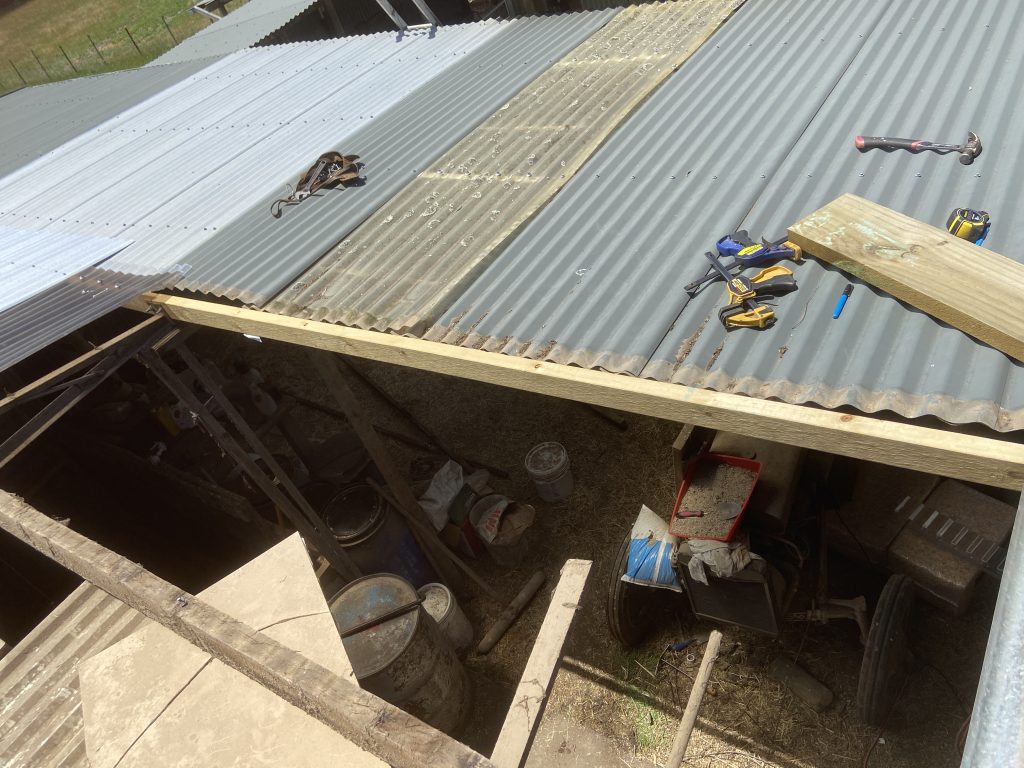
Here is the (almost) finished product, only missing the capping and the last sheet to be completely screwed down. There were a lot of tools that were used, most can be seen in this image.

It isn’t a particularly easy job to replace a whole shed roof – it takes preparation and planning and even then sometimes things don’t go the way you might originally have hoped. Having the right tools with the right equipment is vital – for example, a small tech-head drill-bit for the 45mm roofing screws – as well as ensuring there is enough of everything to be able to complete the job without having to go back out to the store to make last-minute purchases.
If you have any questions about this project or how Calmer Farmer might be able to help you to understand your own farm better, please don’t hesitate to contact us at christine@calmerfarmer.com.au.